Spring is knocking on the door here at the farm. The month of February brings a big start to the gardening season. This month involves lots of cleaning, organizing, planning and even planting for the upcoming months.
I am very fortunate here on the farm to have an insulated greenhouse. Honestly, this is a game changer with Central Oregon gardening. On a sunny day in January or February, temps inside our greenhouse can reach the upper 80's or even 90 degrees on a windy, cold 45 degree day. Central Oregon sunshine is powerful! With that influx of temperatures, consistent monitoring is required. I have another gardening perk besides the actual greenhouse. My sweetie wired in automatic fans last Valentine's Day to ensure that precious seedlings don't overheat if we are away from the farm.

Our greenhouse is roughly 500 square feet. We have shelving all along the exterior walls, a bank of shelving through the center, and a large 3x5 foot permanent raised bed on the southern side. The floor is paved concrete, and we've wired permanent outlets and lights inside. Our last major project inside the greenhouse is to add an automatic drip watering system. Adding auto watering will ensure that life inside the greenhouse continues on if our energy is focused somewhere else on the farm. The odds are good with that...there are many things going on around here!

The thermostat on the left works with the outlets inside the greenhouse. When temperatures dip below freezing inside, the small, temporary space heater kicks on to protect seedlings on cold mornings.

Red wiggler worms make their home in this raised bed space as well.

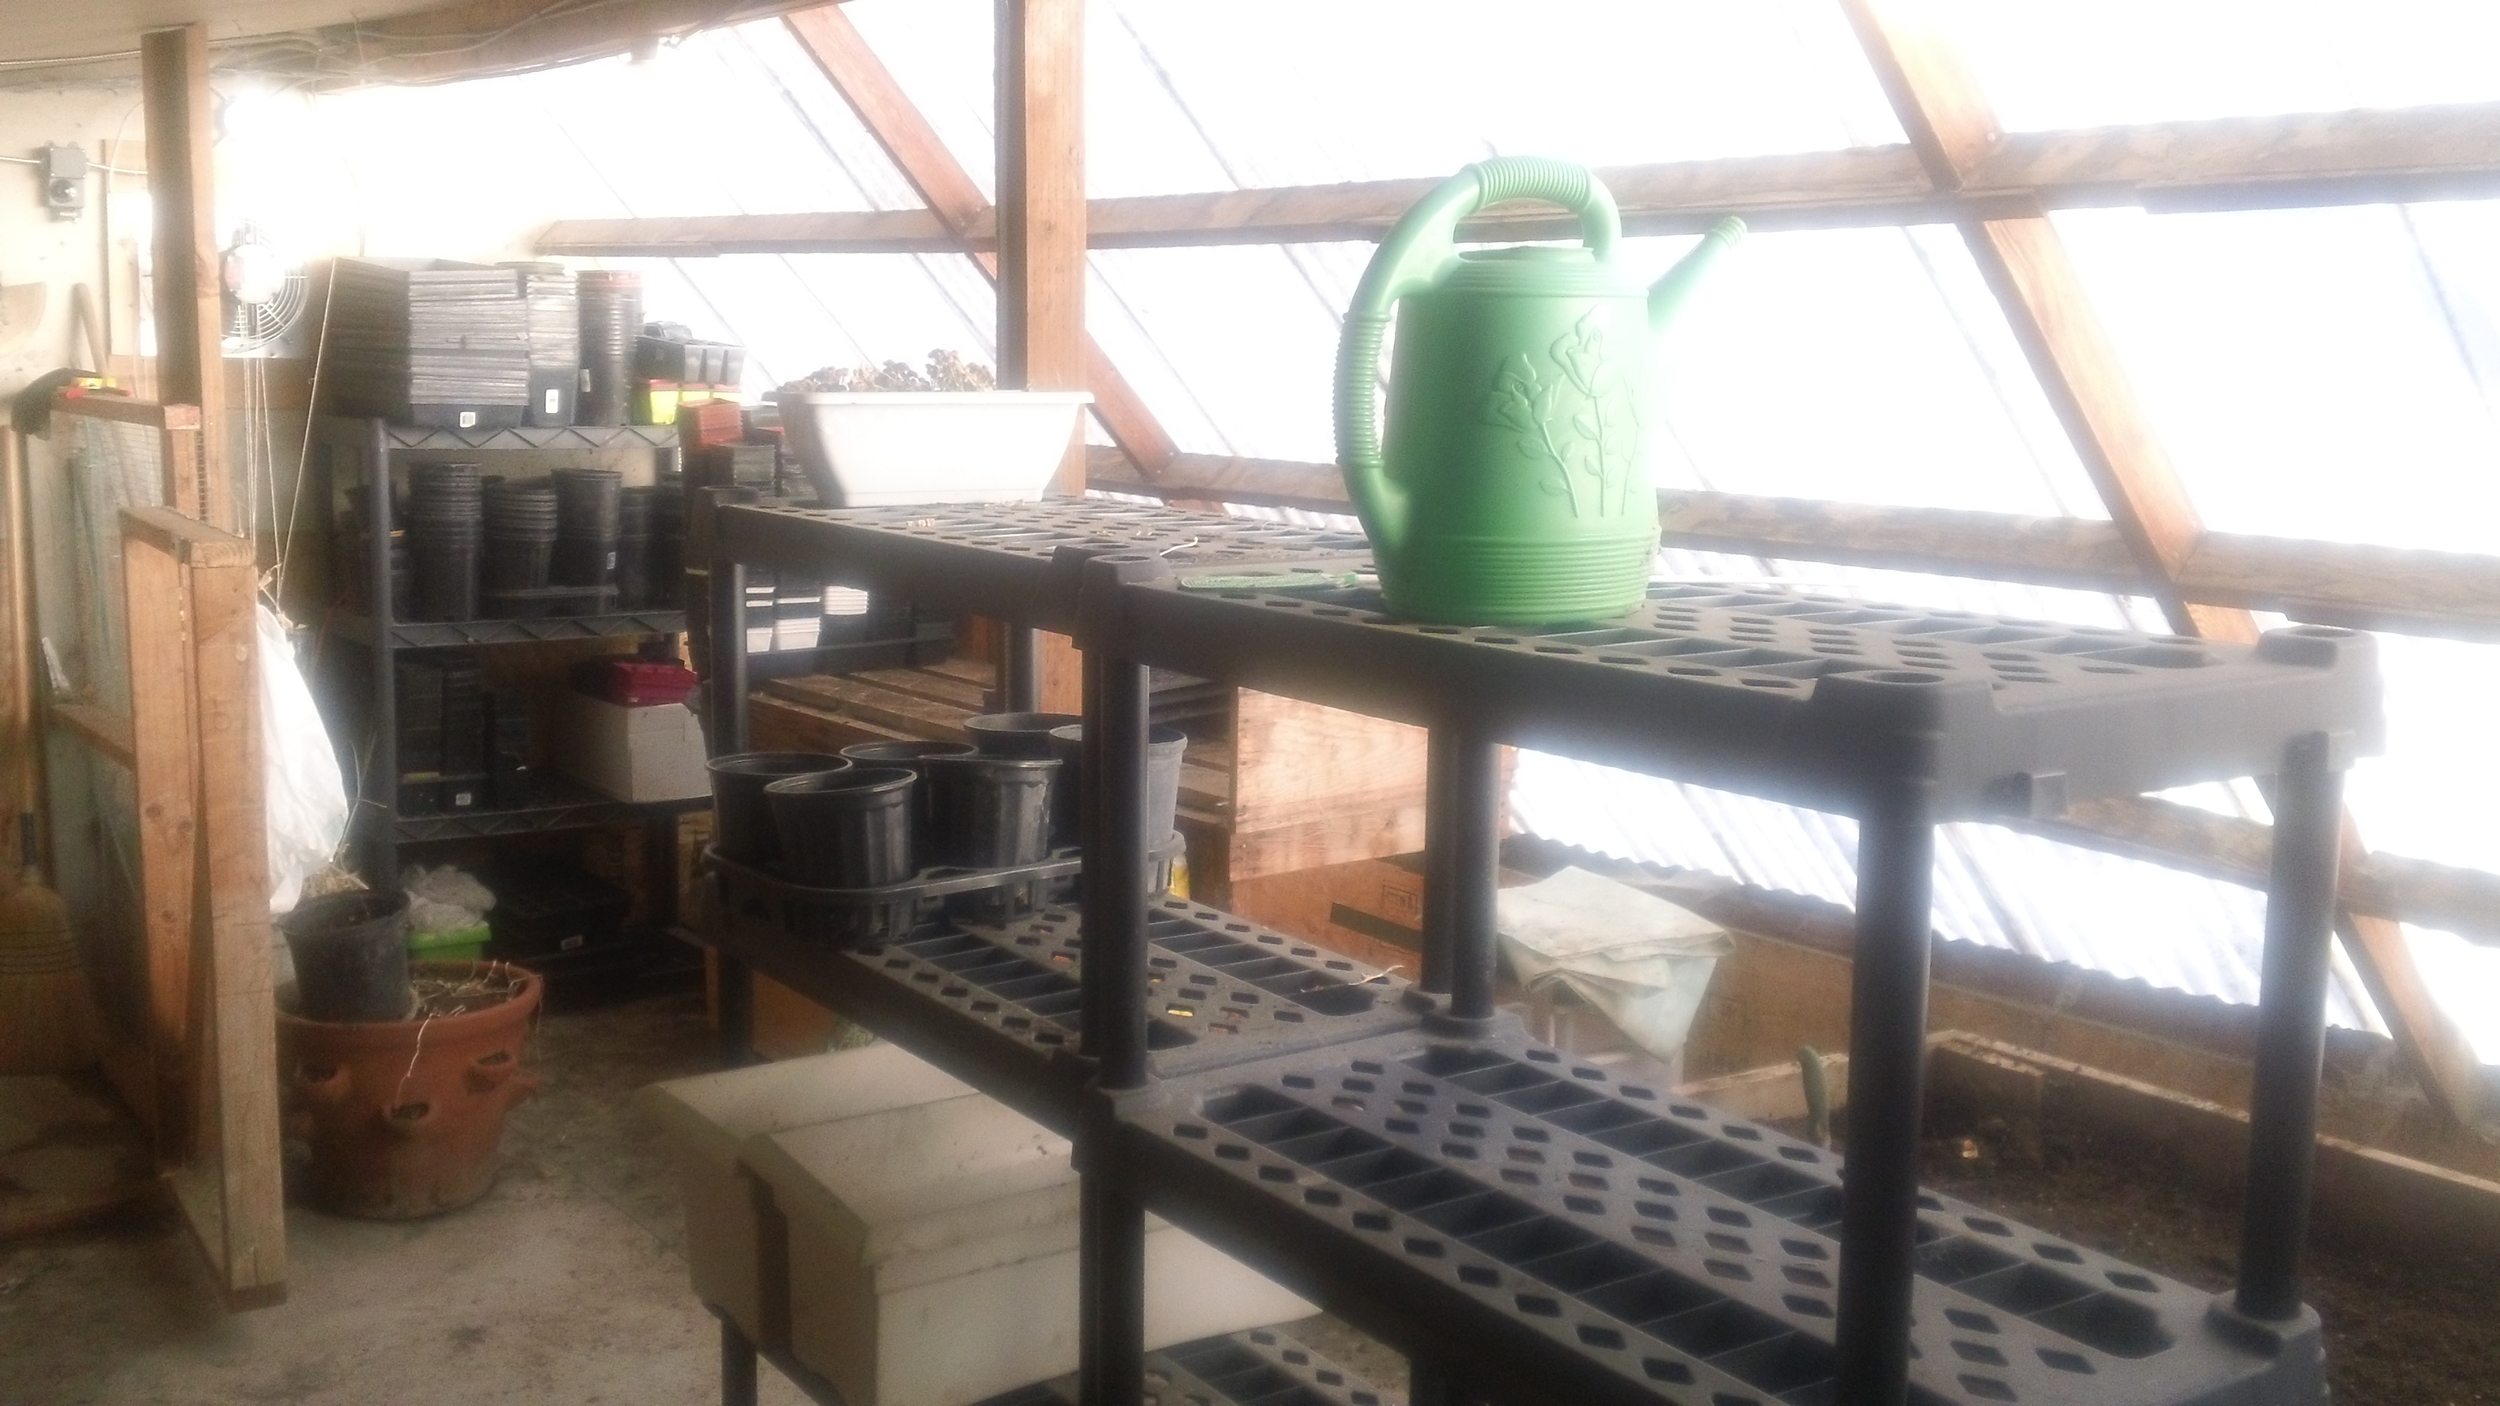
Pots and seedling trays stacked ready for planting this season.

Center aisle shelving ready for seedling trays later this season
I want to emphasize that this greenhouse space has taken years to create. YEARS. Unless you have a limitless budget, it will take time to get to a place where you have these resources. My first years of gardening were filled with many mistakes and tremendous effort. I lacked the right space, the right soil, the right seeds, the right knowledge. I had to make mistakes, I had to read, and I had to be okay with trial and error over the learning process. If I could give one piece of advice to any aspiring gardener, it would be to have patience!
Gardening in Central Oregon is like no other location. Our warm, bright sunny days are followed by drastic temperature dips at night. Our growing season is much shorter than many other areas. Gardening here takes years of refinement and the right tools to be successful. Many, many, trials and errors have brought me to consider msyelf a pseudo-confident gardener. I know that this is a forever learning process... that is part of the fun!

Seed starting mix is much different than planting soil.

Seedling mix is airy and light. Seed starts aren't restricted by the weight of the soil as they germinate.

Potting soil also comes in a variety of ways. Bottom line: you get what you pay for.
Now that you've had the grand tour, here's what is happening at Prineville Honey Bee Haven. My space has been organized and inventoried. I have start up supplies ready to go and early season seeds selected (more on seeds another day).
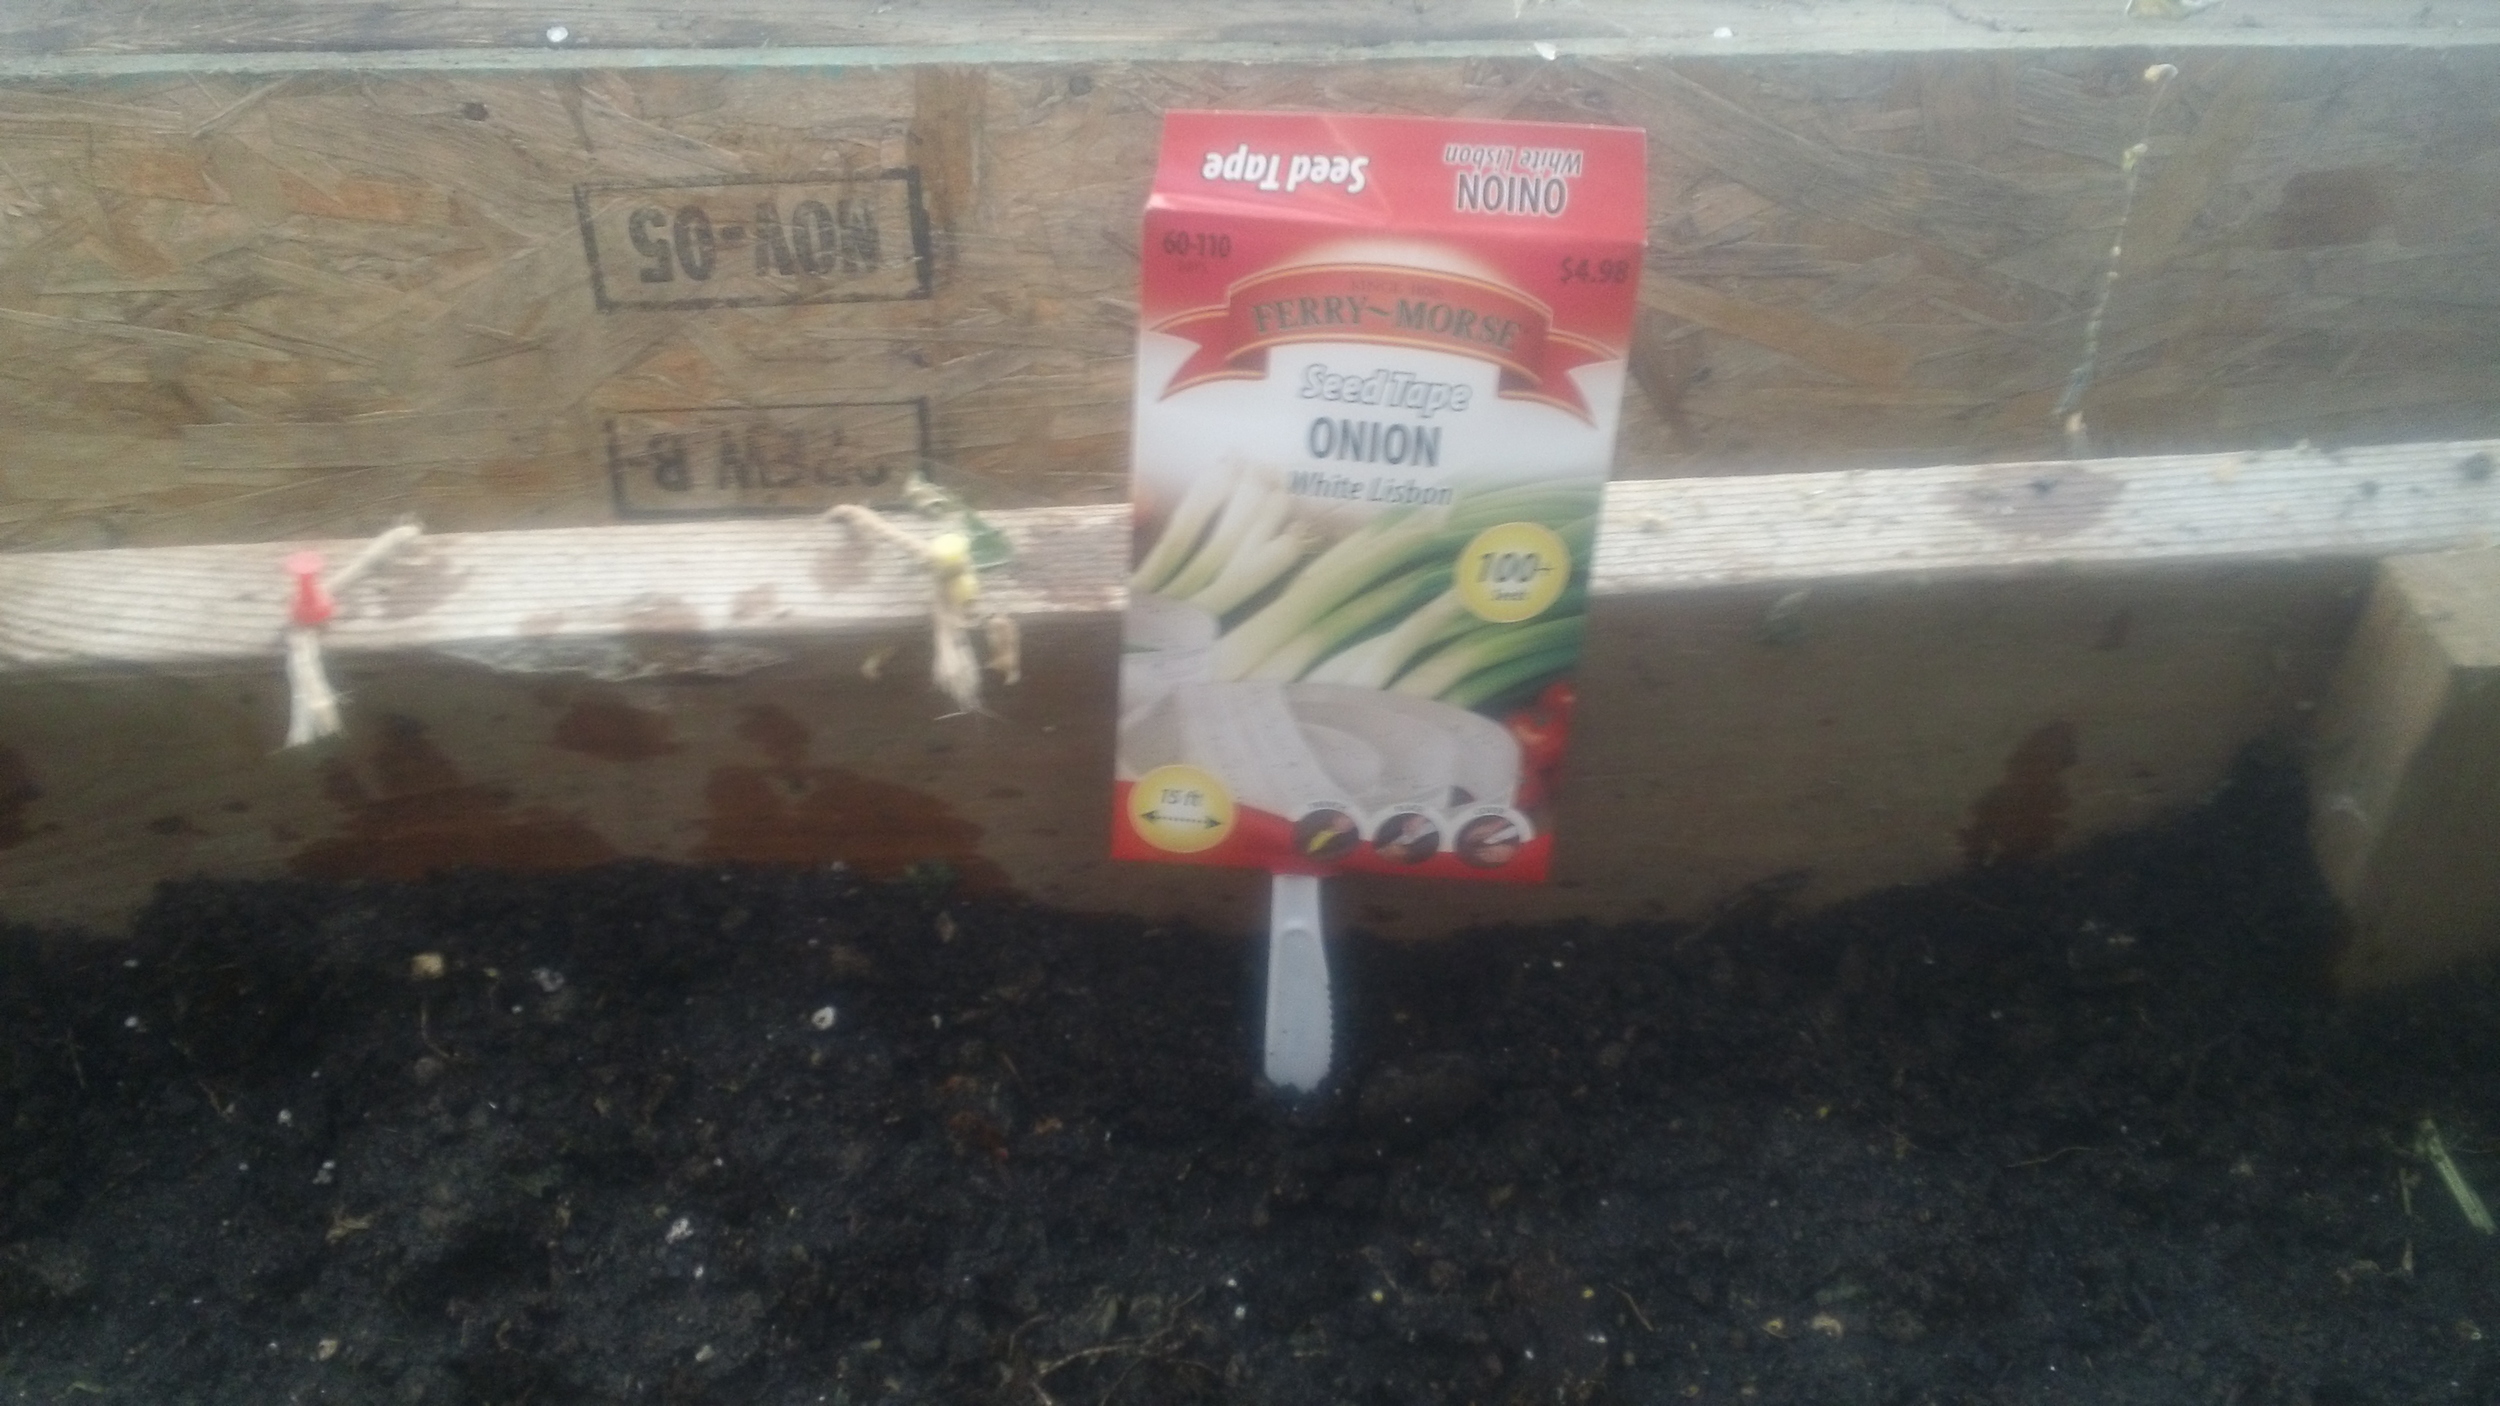
Seed tape is a nice option for small seeds. If you want a time saver, seed tape works nicely to ensure proper seed spacing and a quick planting method.

Early season seed options.
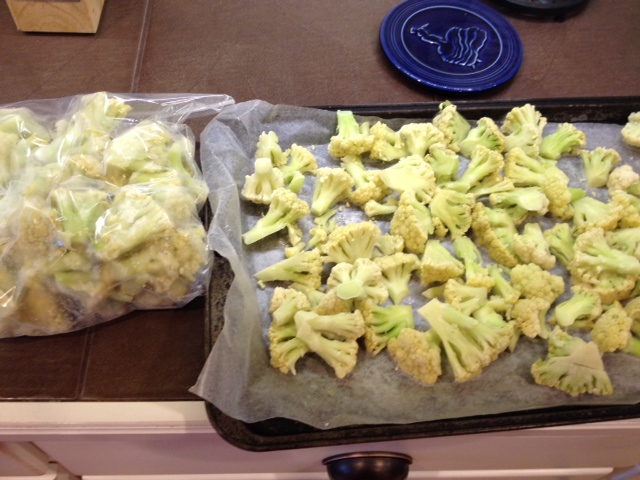
Thus far in the greenhouse, I have started several different things. We have onion, lettuce, spinach, chard, broccoli, cauliflower and cabbage started. The onion, lettuce, spinach, and chard were planted directly in the greenhouse raised bed. The remaining seeds were planted in individual seed pots. They will germinate, sprout, and establish themselves in the greenhouse over the next few months. In early April, they will be transplanted outside.
Perennial flower seeds have also been started in the greenhouse. Perennials take a LONG time to germinate and to establish from seed. I have to give these seeds a big head start in order to plant them for the honey bee garden and see flowers this season. Honey bees like clustered plantings of flowers. They like to forage on one sort of plant until they have taken all of the pollen and nectar that given plant has to offer. By planting these seeds in the greenhouse, I can transplant them in clusters later in the growing season.

Honey bee perennial favorites that need a big head start in the growing season.

Image credit: friends of the earth
There you have it...the beginnings of our gardening adventure this year at Prineville Honey Bee Haven. I emphasize the word adventure and I add the word process. Gardening is exciting, time consuming, rewarding, but not instantaneous. Setting realistic goals with your budget in mind is incredibly important. You can garden on any budget. You can garden in many different spaces. You can garden with various knowledge and skill sets. The most important thing to remember is that you have to take all of those pieces into account when you decide to try it.
If you are looking for a hobby that you can share with your family for years to come, gardening may be something for you to consider. Watching the honey bees help with the pollination process is magic. Nothing compares to harvesting your own food and then sitting around the table sharing it with those you love. The food to fork experience is a worthy contender on your bucket list.