The tools you need to make lefse: lefse pan, turning stick, ricer, rolling pin and cloth.
Today on the farm we made lefse in honor of my sweet grandmother Eldora Mae. For as long as I can remember, lefse (think potato tortilla) has been a tradition of the holiday season. Taking a fresh piece of lefse, spreading butter, cinnamon and sugar, and finally folding the tasty concoction together is synonymous with the holidays. Today I made lefse with our two children to honor tradition and my Grandma Eldora.
Let me introduce my grandmother first before I begin describing the process of lefse making. Eldora Mae lives in the Midwest and I admire her beyond measure. She is smart, well read, hard working, courageous, and she encompasses all that you can imagine in a grandmother. "Five foot two, eyes are blue..." a song she would sing to us when we were young. Eldora really is all of 5' 2" tall, but you wouldn't know it based on her work ethic and absolute presence in a room. She has a contagious laugh, an aura of absolute kindness and a love for life. Although 2,000 + miles separate us, her influence on my life easily spans the distance between us.
I thank Eldora for my love of gardening, my daily ritual of hanging clothes on the line, my frugality, my creative side, and my steadfast determination to adhere to her advice, "Sarah, you must learn how to do EVERYTHING on your own." Be "self-sufficient" she would say to me. On more than one occasion she would remind me how important is was to be able to rely on myself no matter what. In all honesty, Eldora has given me much more than a character list. I am thankful every day for her presence in my life and for the gifts she has shared.
The process of making lefse isn't too difficult. If you've ever made tortillas before, the idea is the same. The Scandinavian culture took the Spanish culture's Masa and replaced it with potatoes. The harder part of making lefse is narrowing down an actual recipe. You see, when you ask Eldora what her recipe is for lefse, she says something like, "you put potatoes, milk and sugar through the ricer." She doesn't tell you how MUCH of the ingredients you need. Recipes are done by "feel" and "taste" rather than quantified amounts. She then follows each sentence with a "you do" affirmation. When I was able to actually get some sort of final measurable quantity, Eldora validates my work with a "yah, you betcha," in true Midwest fashion. Did I mention how much I love her yet?

Lefse on the griddle.
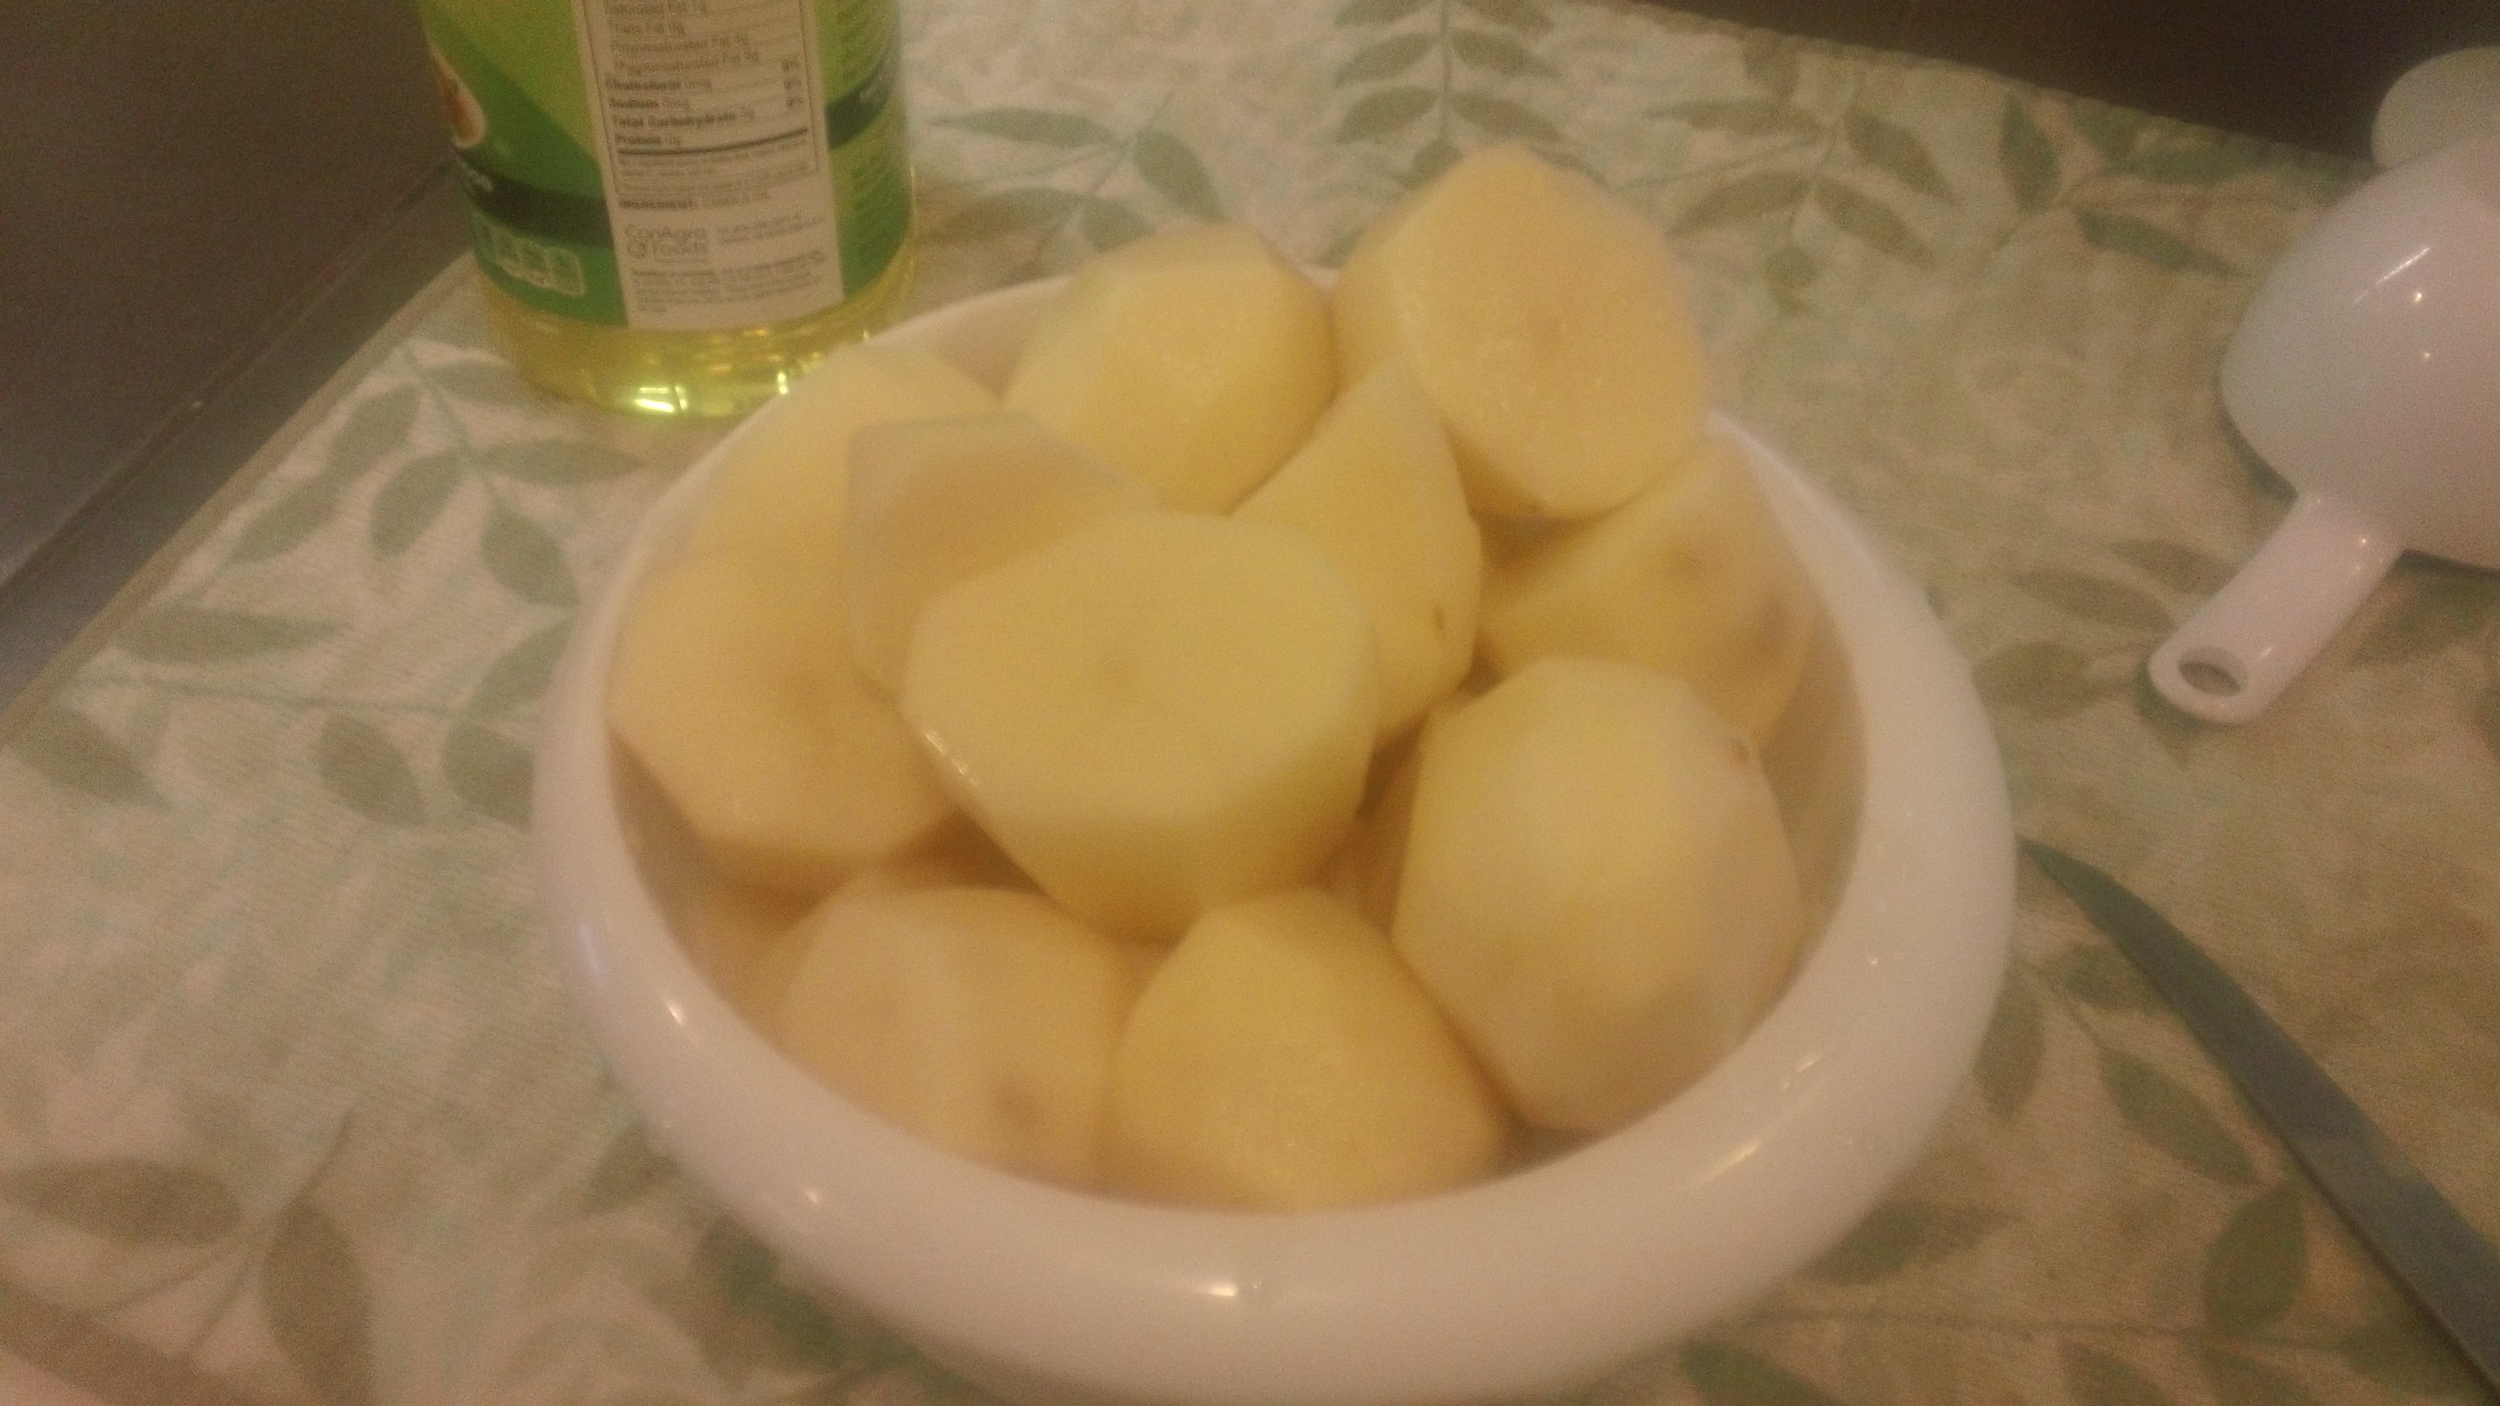
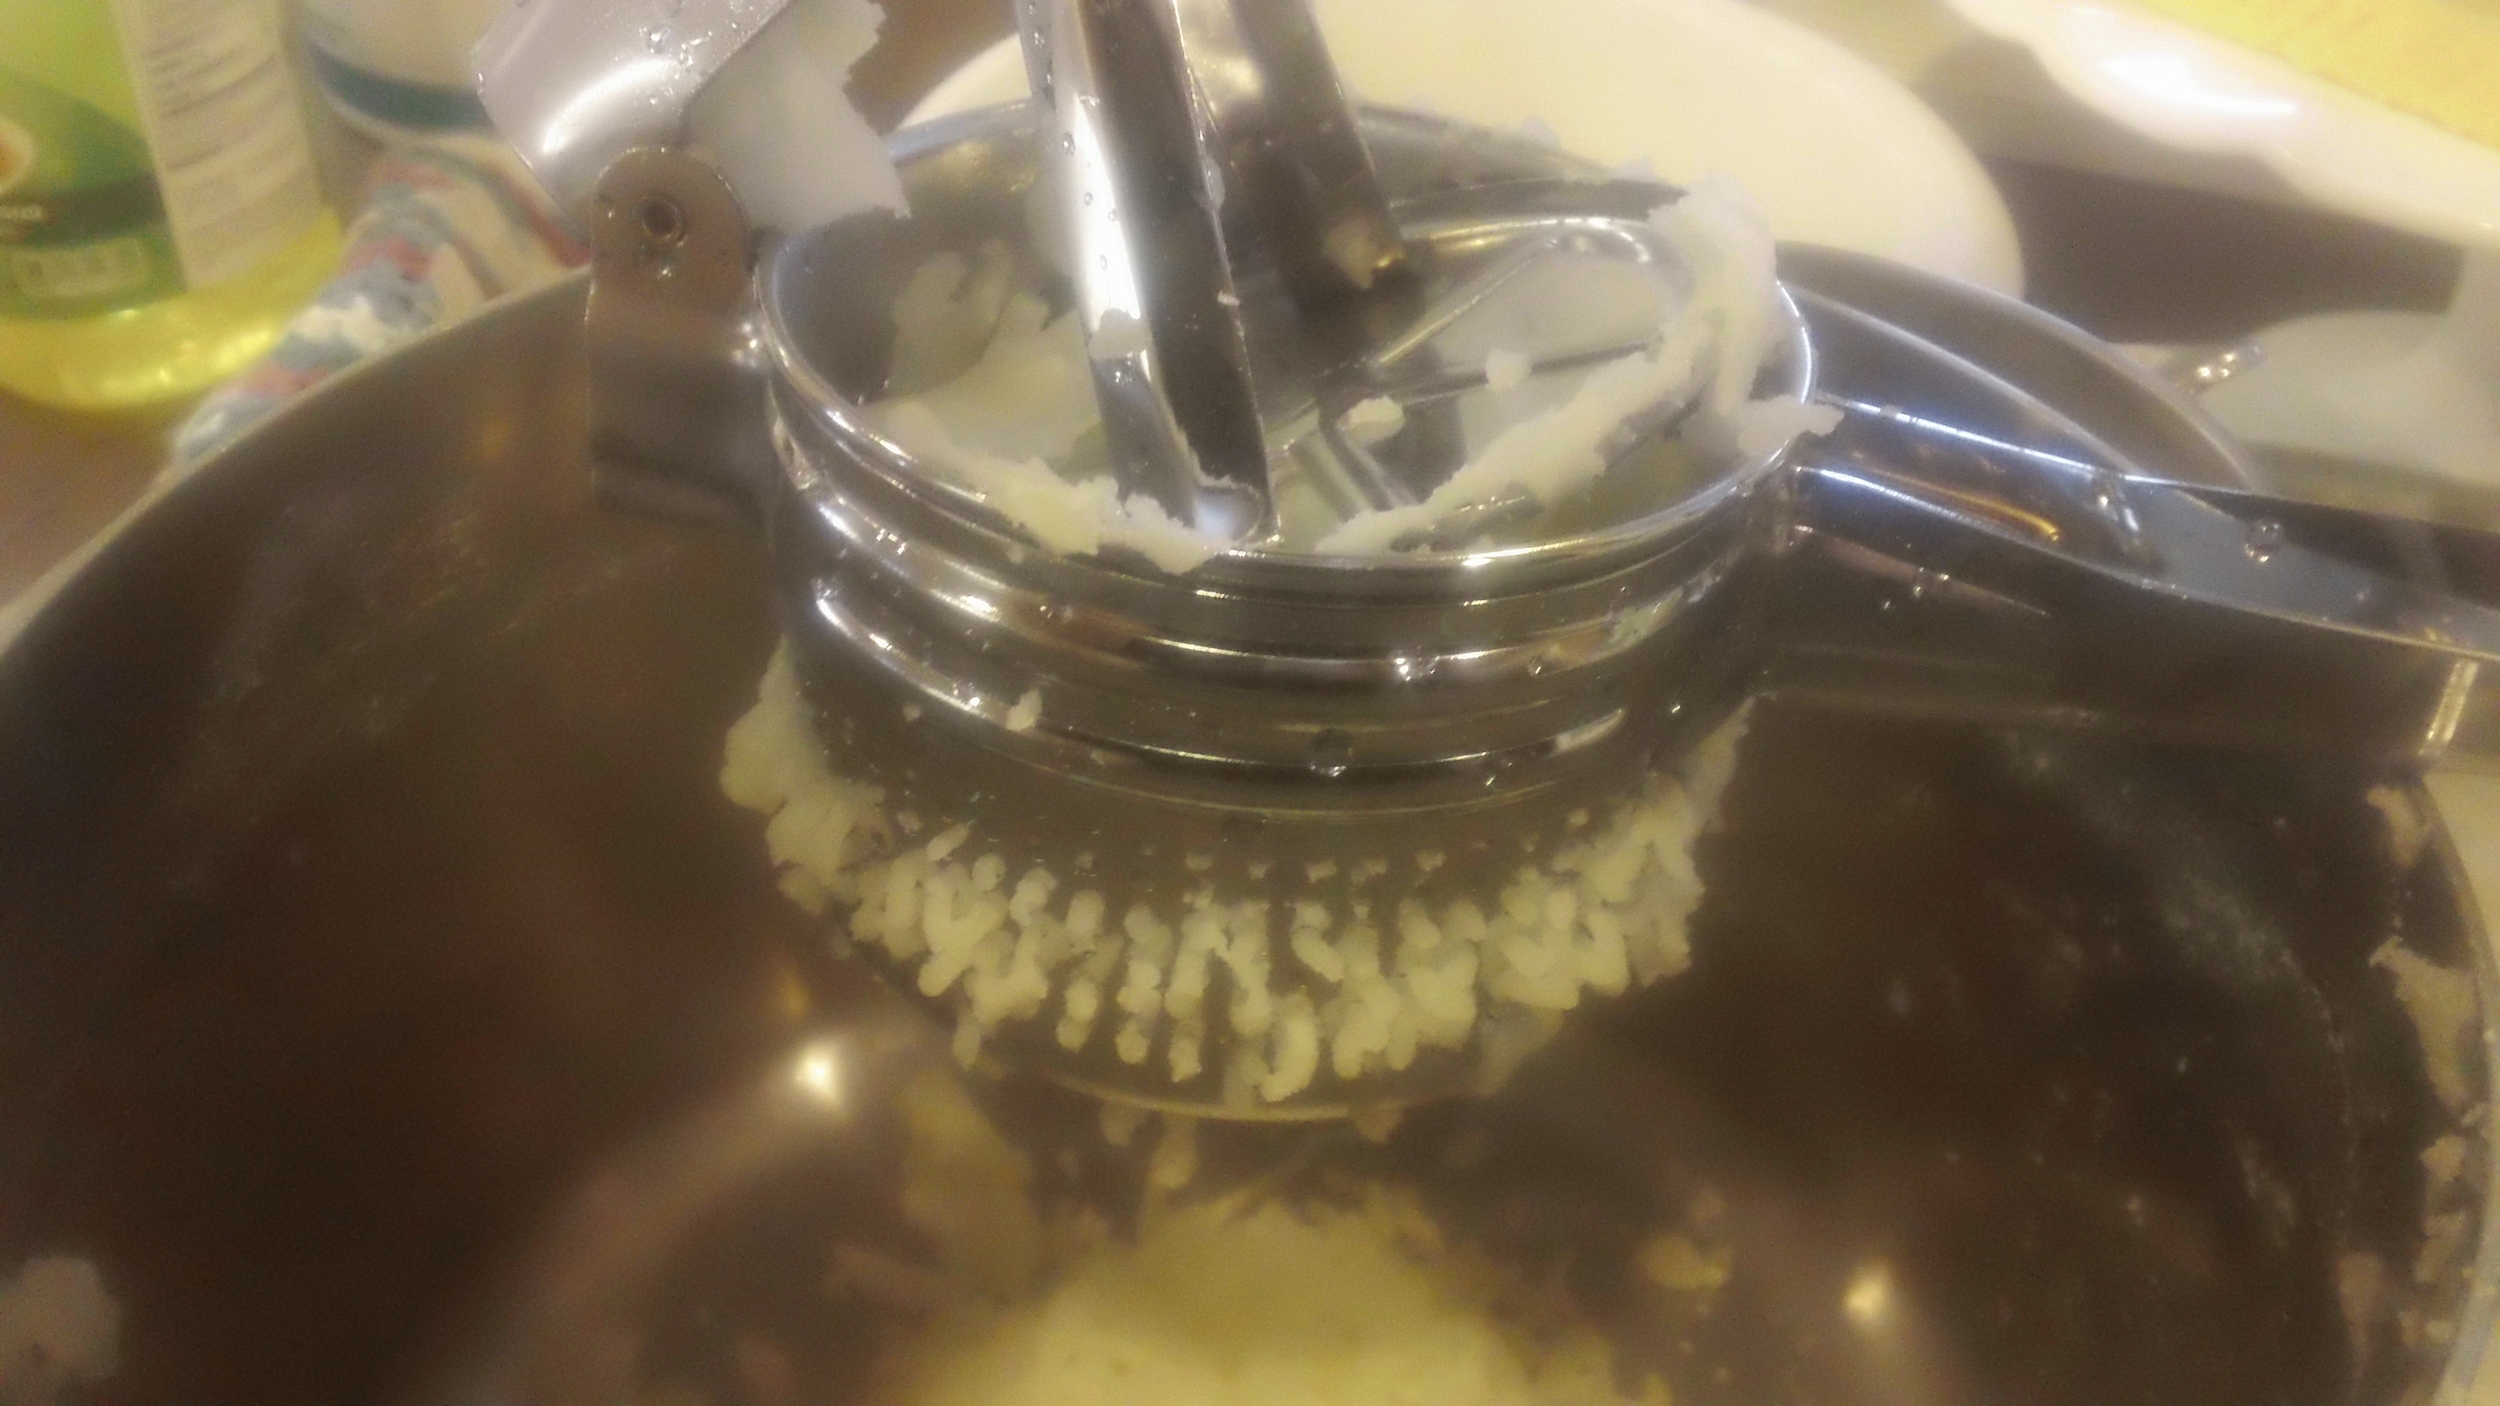
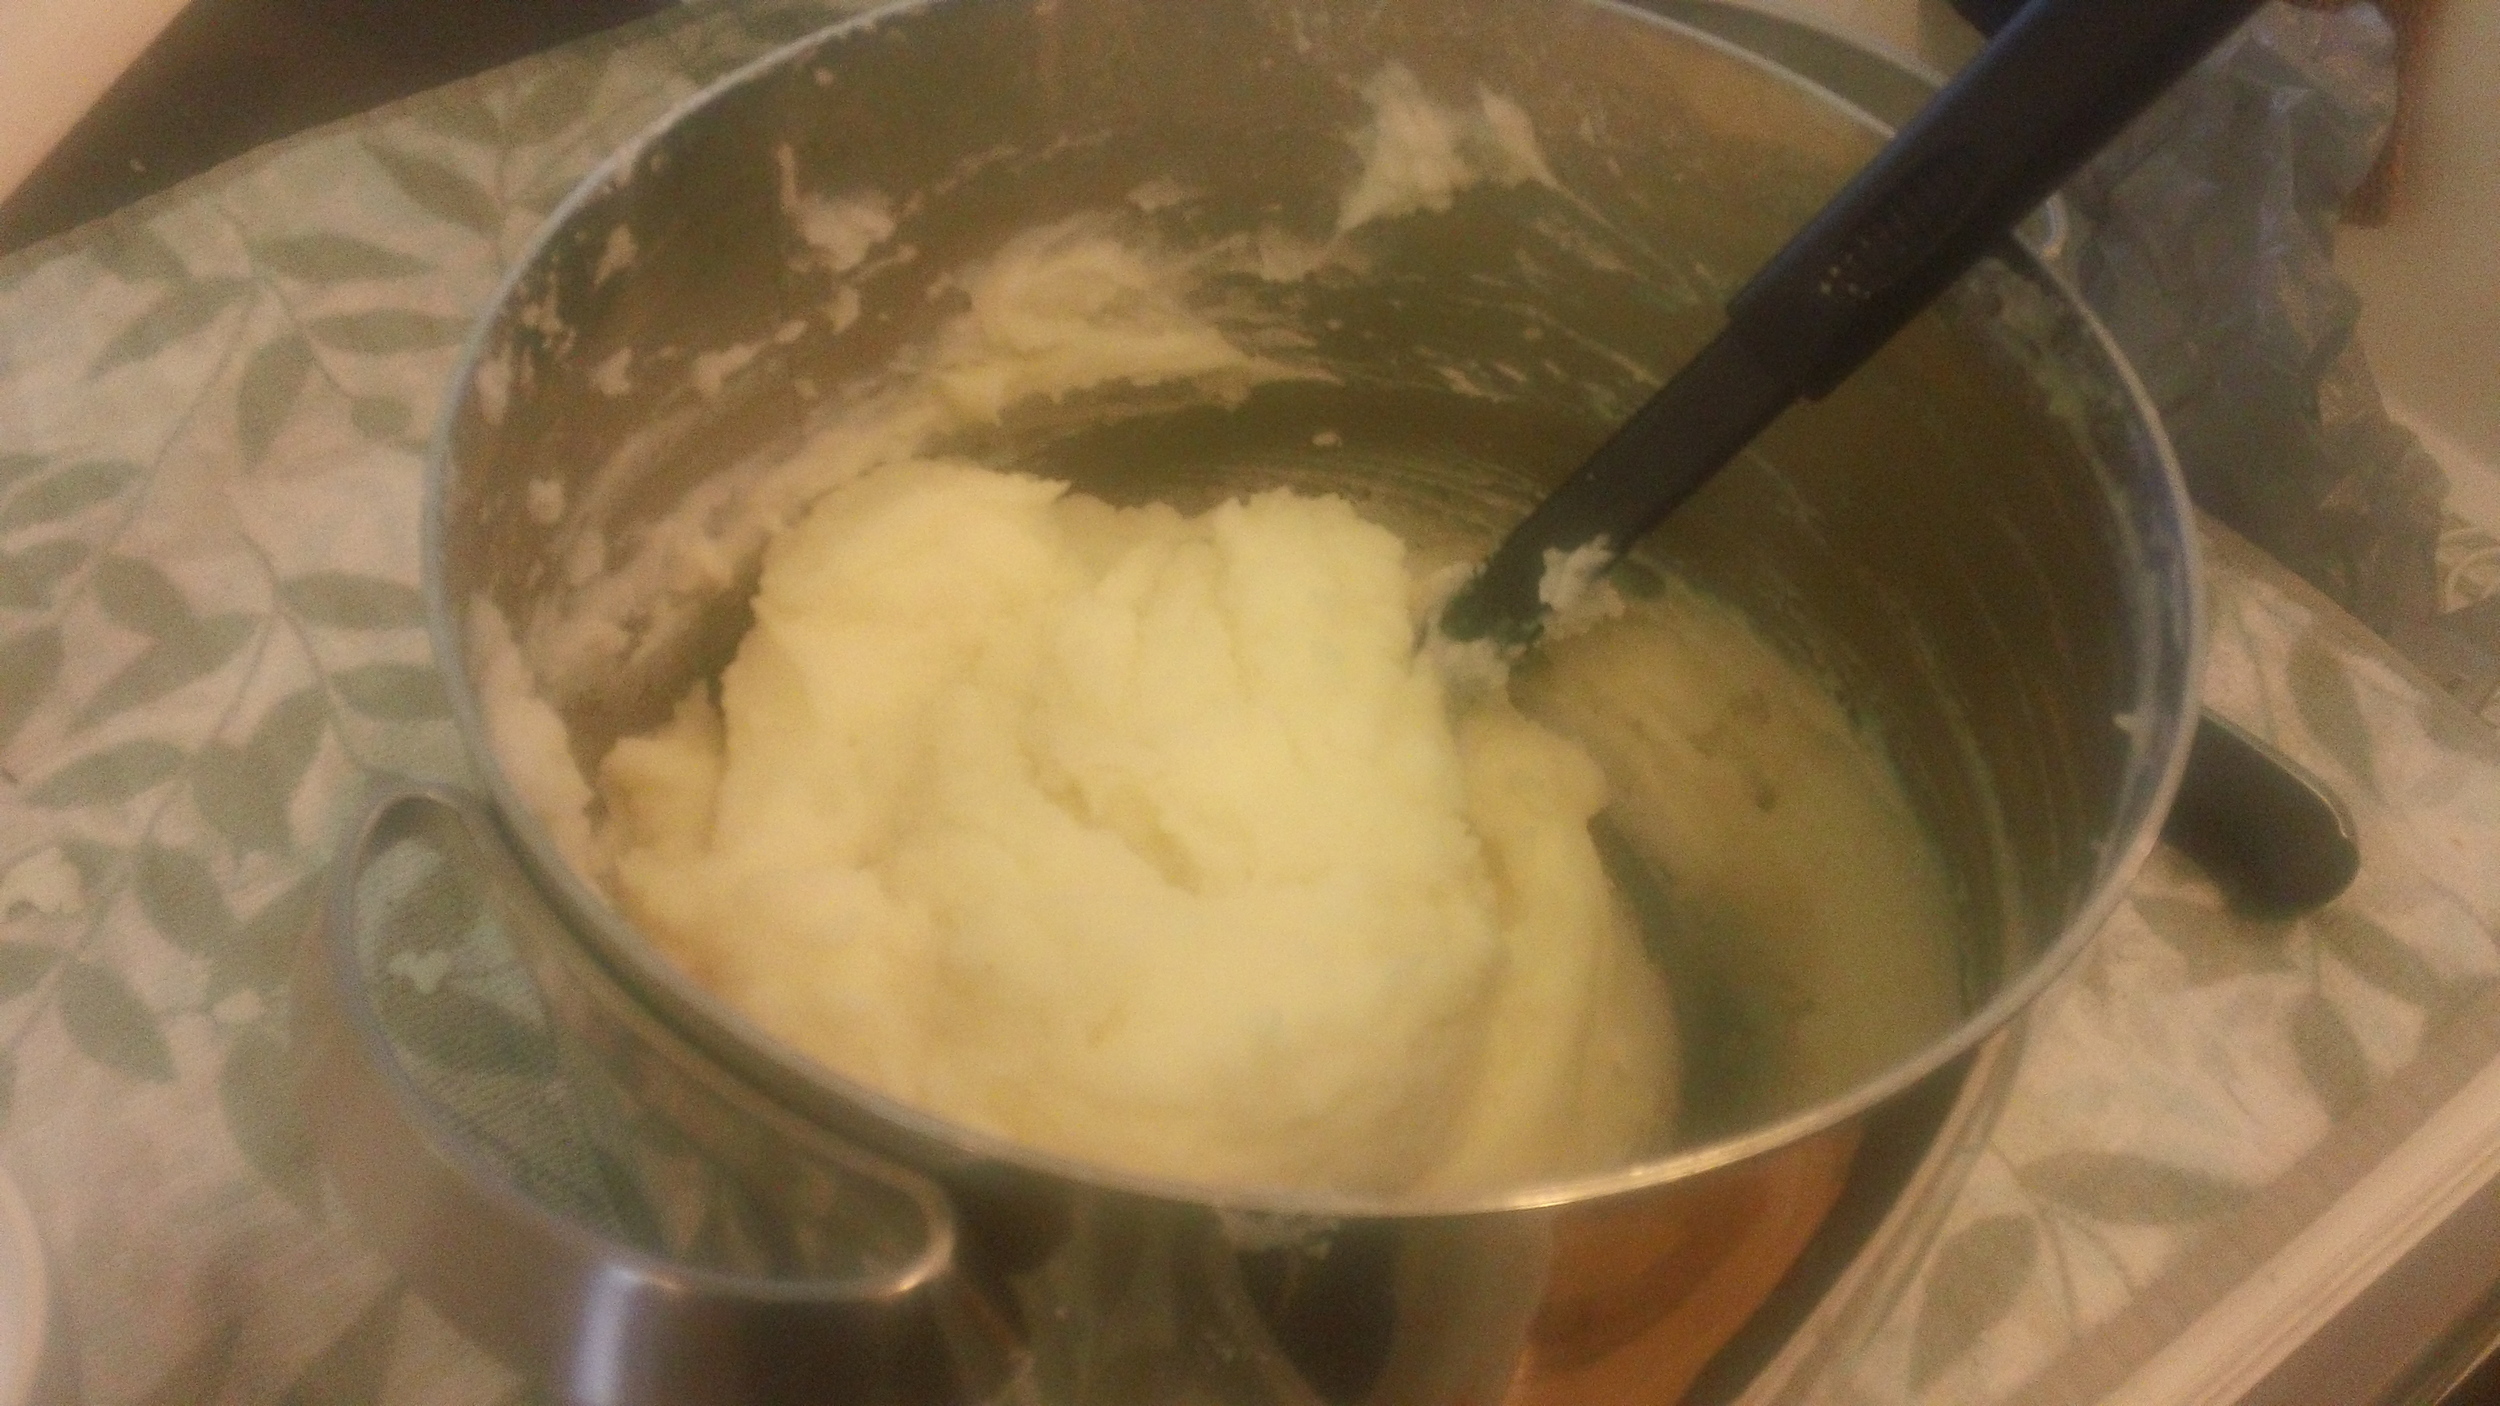
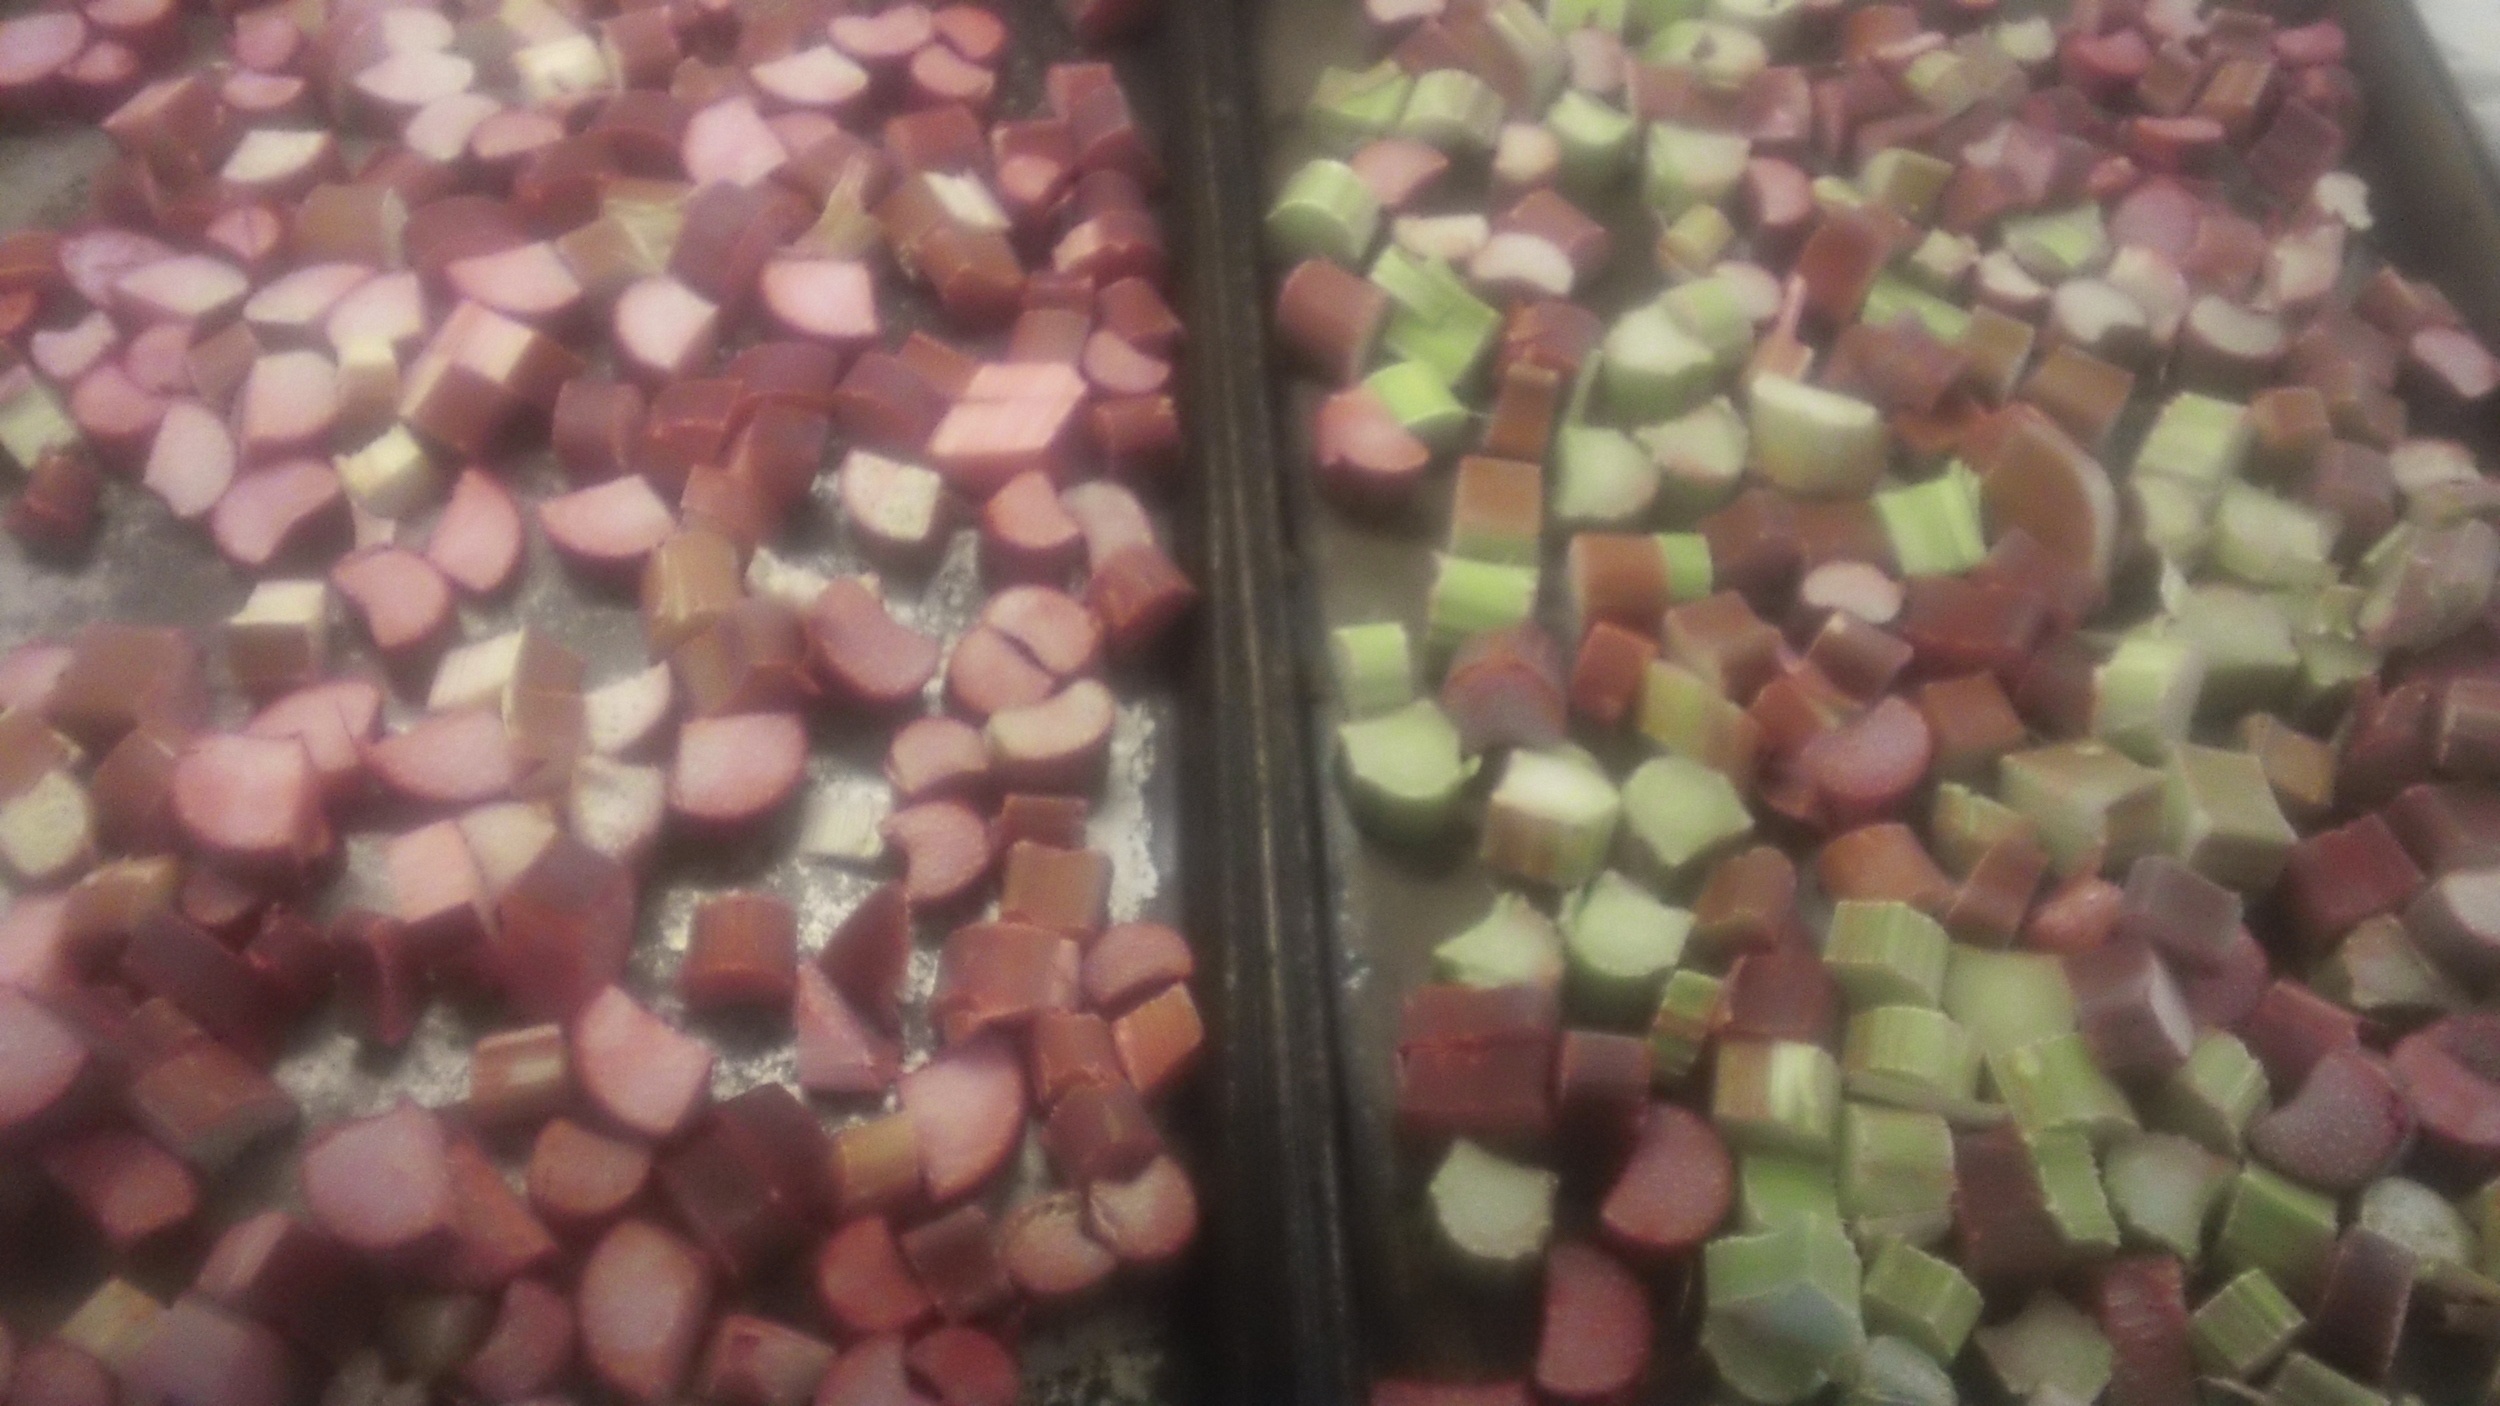
Begin by peeling and boiling the potatoes. I started with about 12 medium sized potatoes thinking that I was doubling the recipe I was given. After the potatoes have softened, drain them and run them through the ricer to get a nice smooth consistency. To ensure that the measurements are in balance, double check how many cups the potatoes actually make. It was about 8 cups of potatoes for this particular batch. (On a side note, I use a ricer on occasion to separate the honey from the wax comb. Works like a charm!)
Once the potatoes are smooth, add milk, sugar, and butter to the mix. I replaced the oil in Grandma's recipe with actual butter. If you were to stop at this point in the recipe and taste the potatoes, you would have a subtly sweet mashed potato mix.
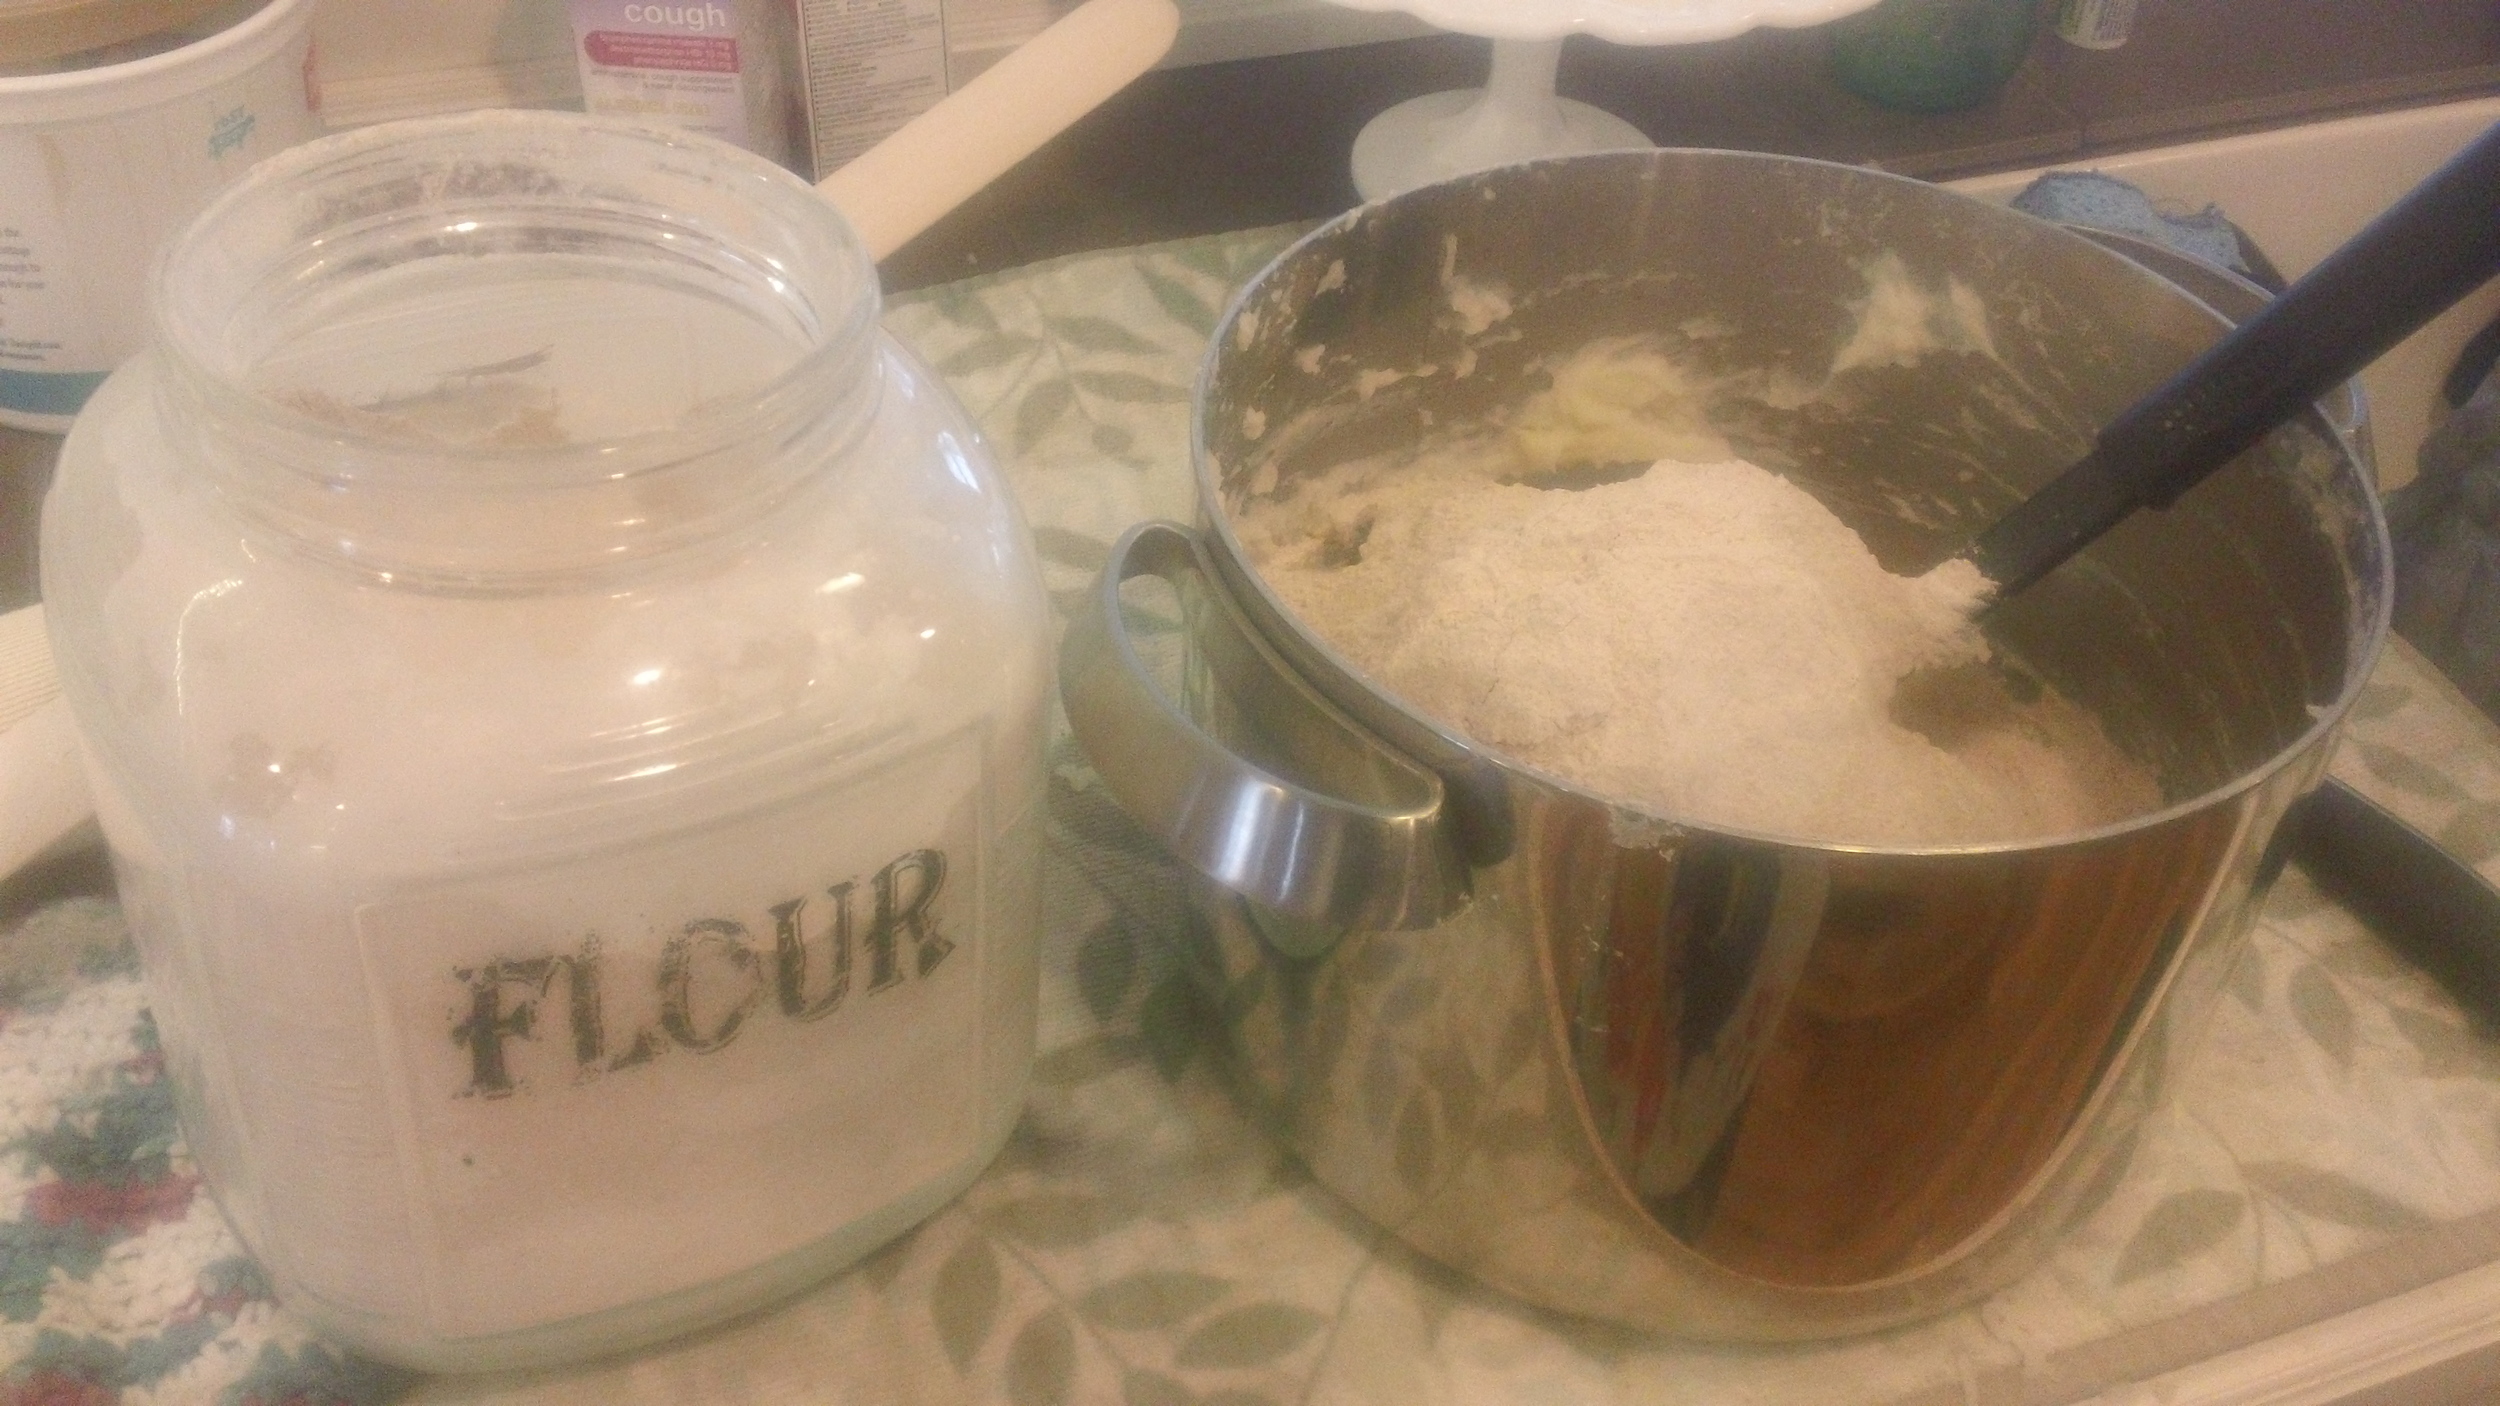
Next, add the flour. Most recipes call for 1/2 cup flour for each cup of riced potatoes. Carefully mix, mix, mix and then knead, knead, knead the dough to create a bread-like consistency. I ended up adding more flour to my mix because of the sticky nature of my original batch. I also used whole wheat flour instead of traditional white enriched flour. This way, all that sugar and butter slathered on the finished product is "healthy," considering I used whole wheat!

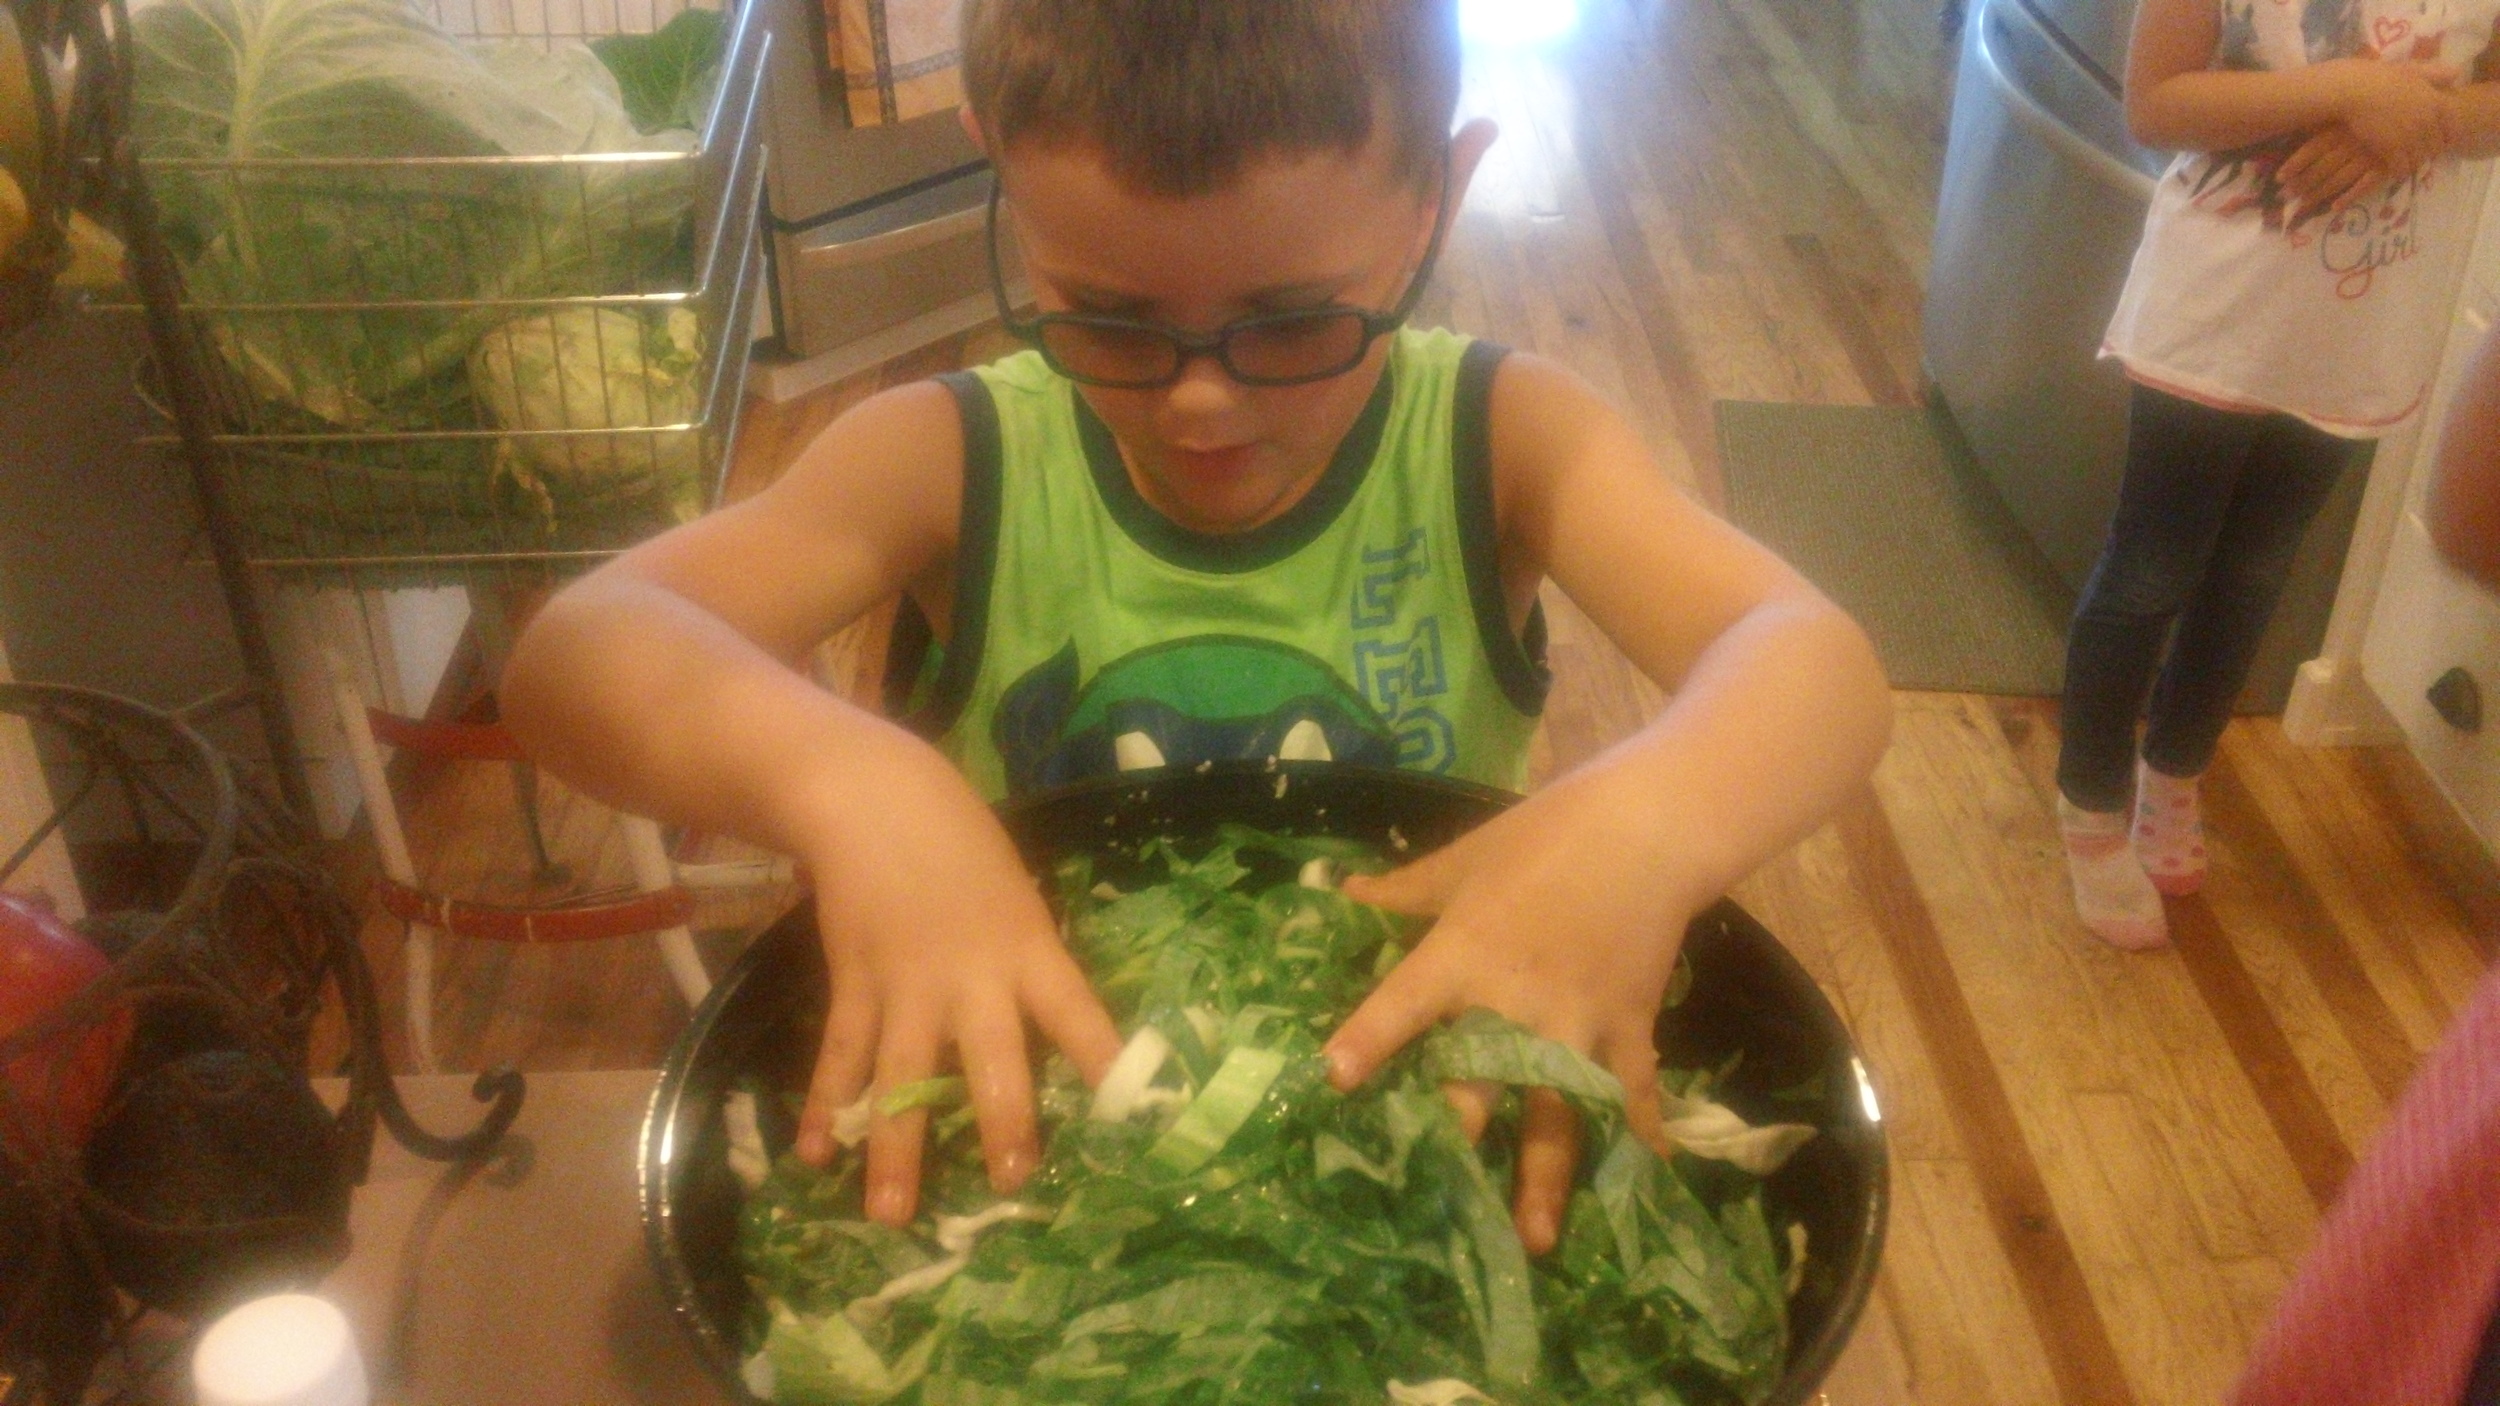
Emmett with his lefse stick ready to flip the lefse.
Now comes the almost favorite part- the stick flip. The idea of a stick, a little poking and something hot is right up our son's alley. The dough is separated into small golf ball size pieces and rolled out onto a flowered surface.

It is important to keep the surface well floured and to roll the dough out very thin. The lefse sticks pick up the flattened pieces and make transporting them to the grill much easier.


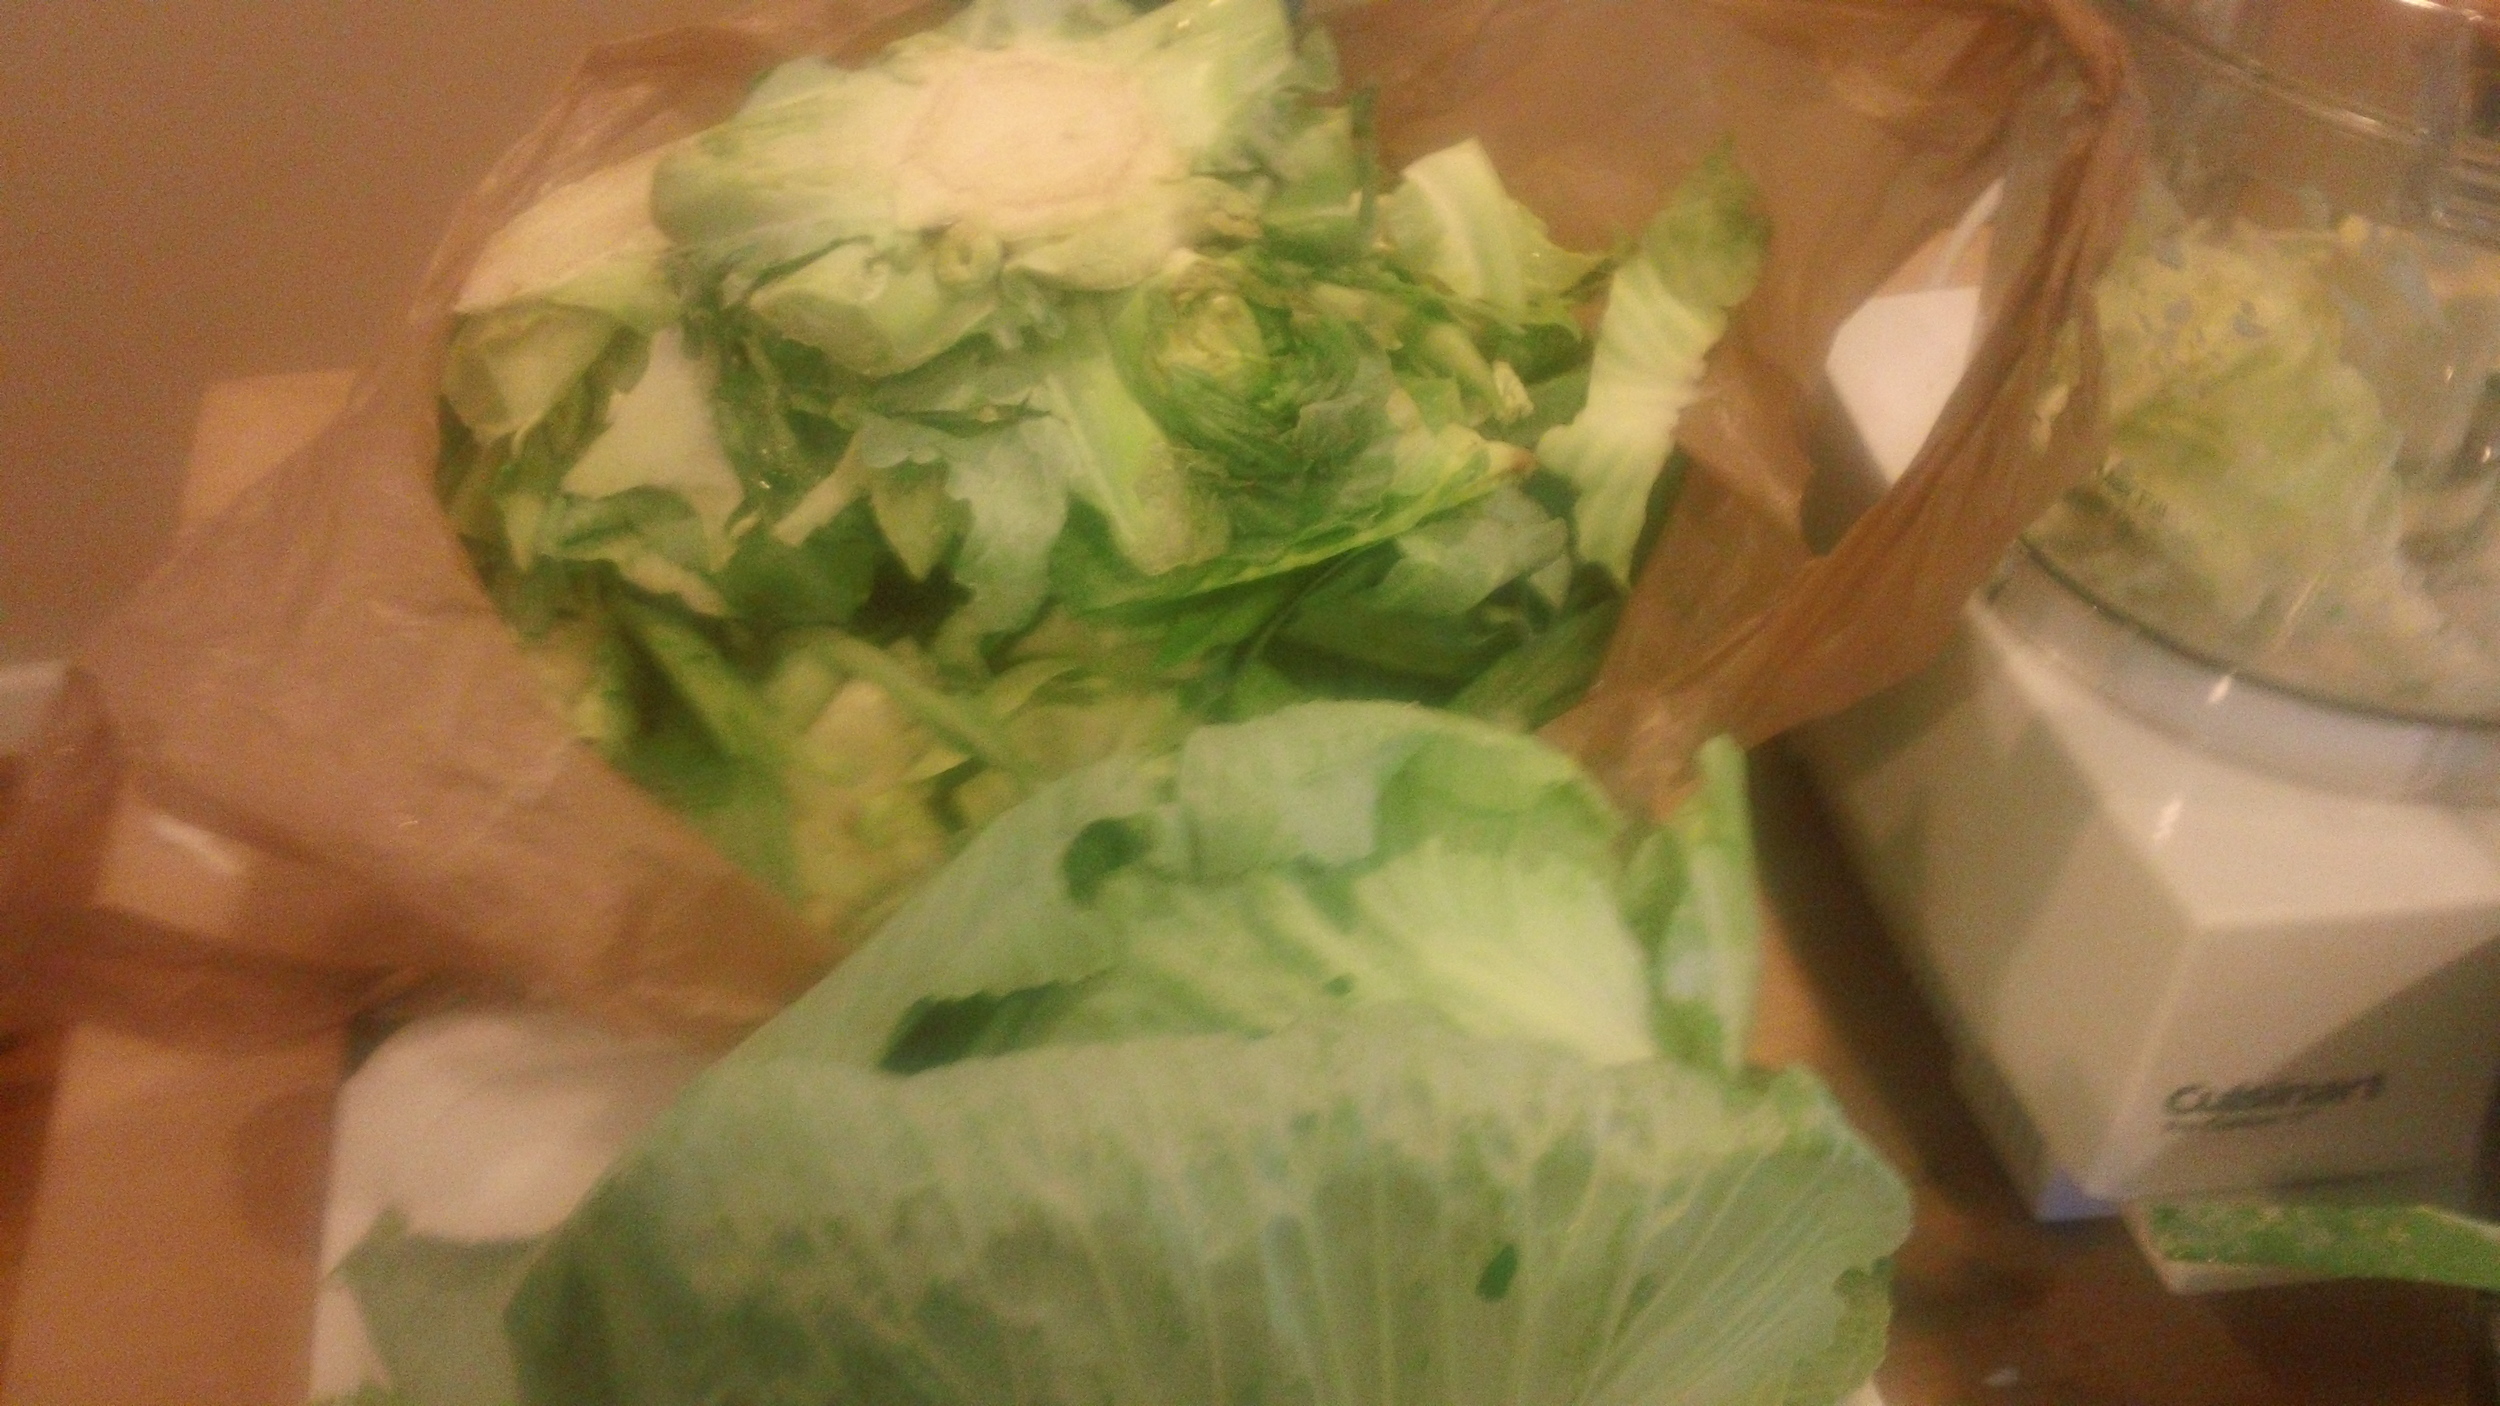
Once the pieces have been flipped and cooked on both sides, the lefse is left to cool. Of course it is important to have a few obligatory "test" pieces to ensure a quality product. This part is the best part of the whole adventure and the kids were in full support of multiple samples! The lefse is stored in the refrigerator and must be eaten within a few days.


Eleanor gave it a thumbs up!
For as long as I can remember, lefse has been a staple of the holiday season. I am thankful for all of the times my grandmother walked me through the process and I cherish being able to do the same thing with our two sweet kids. We may add a little honey bee flair this year and see how lefse and a drizzle of honey go together. I'm guessing that would taste quite wonderful!